(206) 707-5830

Seattle's booming real estate market makes remodeling both lucrative and risky. The city's unique challenges—strict building codes, rainy climate, and tight contractor schedules—mean remodeling mistakes hit harder here than elsewhere. One misstep in permitting, materials, or project management can spiral into costly delays or code violations. Success requires understanding how Seattle's regulatory and environmental landscape shapes your project.
Quick Answer: Avoid remodeling mistakes in Seattle by securing all required permits upfront, hiring verified local contractors familiar with Pacific Northwest codes, and budgeting 10-15% extra for climate contingencies. Per the City of Seattle IHR, permits are required for load-bearing work, building envelope updates, and changes affecting egress or ventilation—regardless of project cost.
This guide covers seven critical mistakes Seattle homeowners typically encounter: permit oversights, contractor selection failures, inadequate moisture planning, underbudgeting for local labor, design choices that ignore climate realities, poor communication, and rushed timelines. Whether you're refreshing a kitchen or navigating a major change order situation, understanding these pitfalls is your foundation for successful remodeling in the Pacific Northwest.
Table of Contents
- Mistake #1: Skipping Detailed Planning and Goal Definition
- Mistake #2: Underestimating Costs and Ignoring Budget Realities
- Mistake #3: Hiring the Wrong Contractor or Failing to Compare Options
- Mistake #4: Poor Preparation and Unrealistic Timeline Expectations
- Mistake #5: Making Poor Design Decisions That Compromise Function
- Mistake #6: Taking On Too Many DIY Tasks Beyond Your Skill Level
- Essential Questions to Ask Your Seattle Remodeling Contractor
- Your Seattle Remodeling Success Checklist
Mistake #1: Skipping Detailed Planning and Goal Definition
Rushing into a remodel without defining your vision is one of the quickest ways to encounter remodeling mistakes in Seattle. Vague project goals lead directly to scope creep, unexpected expenses, and contractor miscommunication. When homeowners can't articulate what they want, contractors fill the gaps with assumptions—resulting in finished work that misses the mark.
Clear planning also determines which contractor approach suits you best. Understanding whether you need a design-build team or general contractor fundamentally depends on your clarity of vision and timeline. A design-build contractor works best when you have loose ideas but trust one unified team; a general contractor excels when you've already defined your scope precisely.
Define Your Must-Haves vs. Nice-to-Haves
Before contacting contractors, prioritize ruthlessly. List what must happen (structural changes, code compliance, essential functionality) versus what would be nice but isn't critical. This distinction guides budget allocation and helps contractors provide accurate estimates without inflated contingencies for undefined scope.
Document Your Vision with Photos and Inspiration
Collect 10–15 reference images from Pinterest, Instagram, or design publications. Save examples of finishes, layouts, and styles that resonate with you. Share these with your contractor upfront—visual clarity prevents costly reinterpretation and rework.
Action steps:
- Write down your top 3 project goals
- Set a realistic budget range
- Gather and organize inspiration images before your first contractor meeting

Detailed planning is the blueprint for a successful remodel, preventing scope creep before it starts.
Mistake #2: Underestimating Costs and Ignoring Budget Realities
Most Seattle homeowners budget for visible work—cabinets, countertops, flooring—then get blindsided when hidden structural problems emerge. A bathroom remodel hits hidden water damage. A kitchen renovation uncovers outdated wiring. Suddenly, the budget evaporates, and contractors request change orders to cover the real cost of bringing everything up to code.
The real lesson: realistic budgeting for a remodel in Seattle means allocating reserves before work begins, understanding what a comprehensive estimate should include, and knowing how payment structures work.
| Budget Component | Typical Allocation |
|---|---|
| Labor (60–70%) | $12,000–$28,000 |
| Materials (20–25%) | $4,000–$10,000 |
| Permits & inspections | ~$600–$1,500 |
| Contingency (15–20%) | $3,000–$8,000 |
Building in Contingency Funds and Change Order Reality
According to industry best practices, a 15–20% contingency buffer is essential—and non-negotiable in Seattle, where homes often hide decades of deferred maintenance. Change orders during a remodel in Seattle typically stem from foundation issues, corroded plumbing, asbestos abatement, or electrical upgrades required by current code. Budget this upfront, and you won't panic when a contractor discovers knob-and-tube wiring behind your walls.
Understanding Deposit Schedules and Payment Terms
How contractors structure deposits varies by project size. For smaller jobs like a $16,000 bathroom, expect a 50% deposit. For larger renovations like a $100,000 kitchen, a 10–20% upfront deposit is industry standard. Always request a detailed payment schedule tied to project milestones—never give a contractor the full amount before work begins. The payment terms protect both you and the contractor, ensuring accountability throughout the remodel deposit schedule process. For guidance on navigating unexpected costs, read our complete guide to managing change orders.
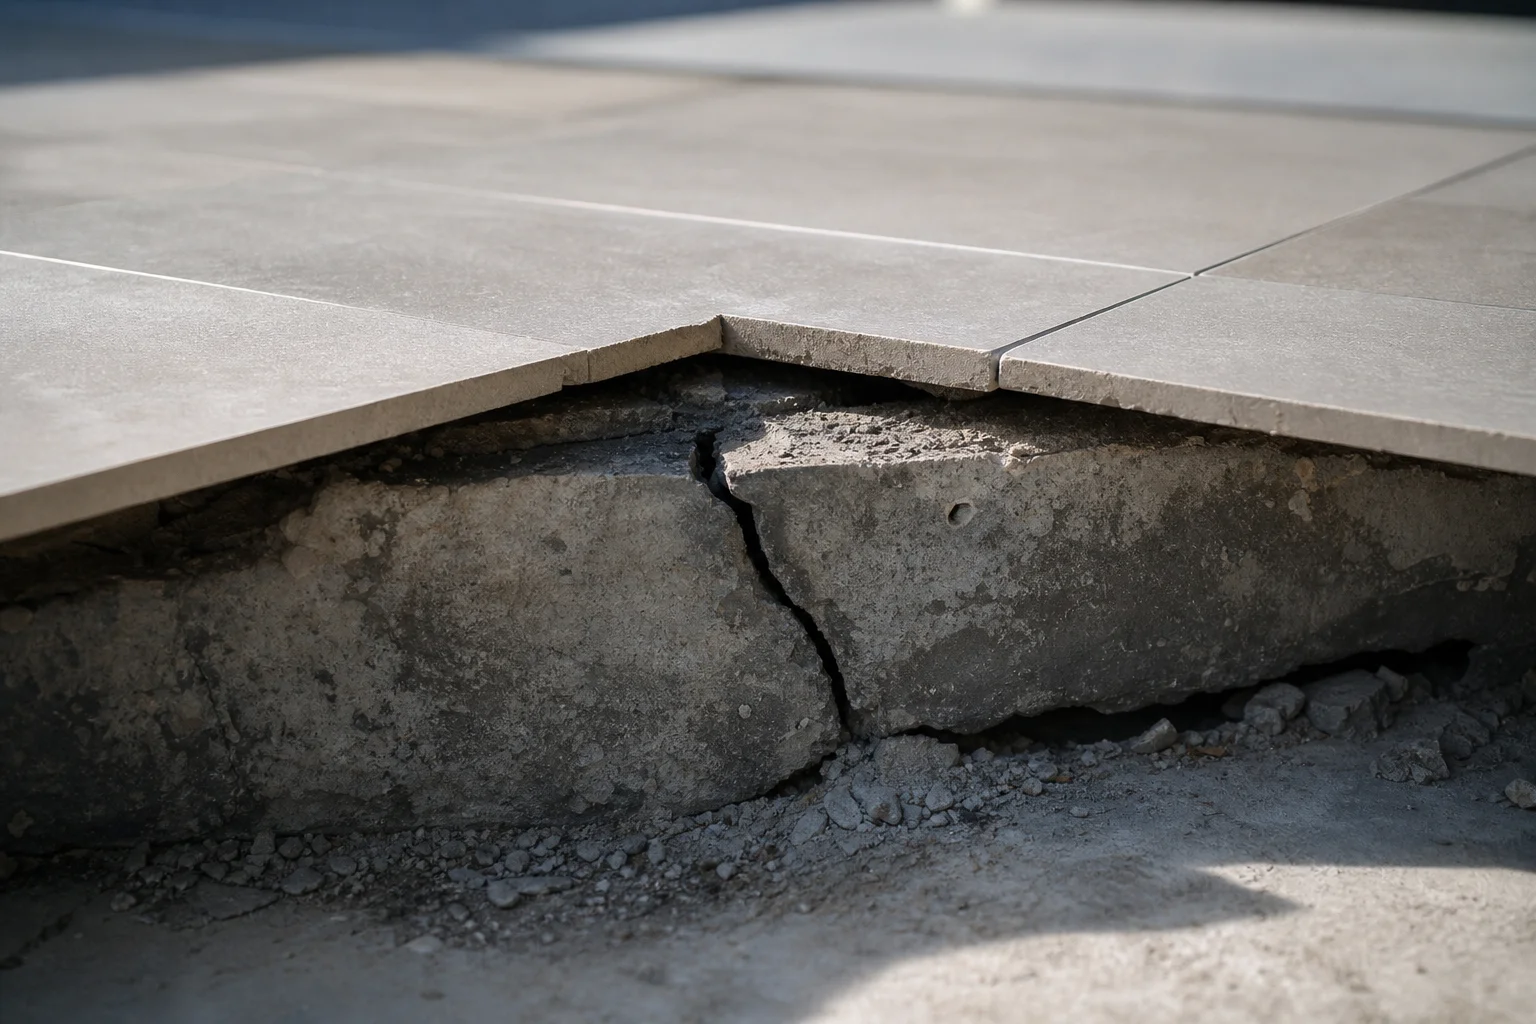
Hidden structural issues are common in older Seattle homes, making a contingency fund essential.
Mistake #3: Hiring the Wrong Contractor or Failing to Compare Options
Your contractor makes or breaks your remodel. A skilled, transparent team prevents costly delays and surprises; an inexperienced or dishonest one can tank your budget and timeline. Yet many Seattle homeowners rush this decision—comparing only price, not qualifications, experience, or fit. The truth: the cheapest bid rarely delivers the best result.
Design-Build vs. General Contractor: Which Model Suits Seattle Homeowners?
Two contracting models dominate Seattle remodels. Understanding each helps you choose the right partner.
| Aspect | Design-Build | General Contractor + Separate Designer |
|---|---|---|
| Team Structure | Single firm handles design & construction | Homeowner coordinates designer, GC, and trades |
| Communication | Direct, one contact point | Multiple handoffs, coordination overhead |
| Timeline | Faster (design-build overlap phases) | Longer (sequential design, then bidding, then build) |
| Cost | Typically 15–20% less due to efficiency | Higher (separate contracts, potential miscommunication) |
| Accountability | Single entity responsible for outcome | Responsibility split among parties |
| Best For | Homeowners wanting simplicity & speed | Those with detailed vision or existing designer |
Design-build works well for homeowners who value streamlined communication and predictable costs. The integrated approach means design decisions happen in conversation with construction realities—fewer surprises mid-build.
How to Compare Remodeling Bids Effectively
Don't just look at the bottom number. Compare apples to apples:
- Scope alignment: Ensure all bids include identical materials, finishes, permits, and timeline
- Line-item breakdown: Request detailed cost-per-item, not lump-sum quotes—easier to spot padding or gaps
- References & licenses: Call past clients; verify contractor licensing with Washington State Department of Labor
- Warranty terms: Ask what's covered and for how long (structural, materials, labor)
- Payment schedule: Confirm it ties to milestones, not upfront dumps
- Change order policy: Understand how extras are priced if discovered work emerges
Ask specific questions: kitchen and bathroom remodelers should explain their approach to hidden issues, their timeline for permitting, and whether they carry liability insurance. An unusually low bid signals either incompetence or hidden costs waiting to surface.
Take your time vetting contractors. This decision determines whether your Seattle remodel stays on track or spirals into regret.

Choosing the right contractor involves vetting qualifications and ensuring clear communication.
Mistake #4: Poor Preparation and Unrealistic Timeline Expectations
Many Seattle homeowners underestimate the disruption—and timeline complexity—of living at home during kitchen remodels or bathroom remodels. Without realistic planning and honest schedules, stress and budget overruns multiply quickly.
Preparing Your Home and Family for Disruption
Prepare your space and household before day one:
- Protect furniture and valuables; seal off adjacent rooms with dust barriers
- Set up temporary kitchen or bathroom stations (portable toilet, cooler, basic sink setup)
- Arrange childcare and pet care during peak noise hours
- Establish a clear communication protocol with contractors for daily access
- Clear work areas of personal items and valuables
- Plan for restricted access to utilities, parking, and deliveries
Living at home during a kitchen remodel or bathroom remodel demands logistical and emotional preparation beyond what most homeowners anticipate. Dust penetrates everywhere; noise is constant; bathroom access may be limited for days at a time.
Understanding Seattle Permit Timelines and Seasonal Factors
Don't assume permits arrive in two weeks. According to Remodel Right Seattle, SDCI plan review at the 75th percentile runs 6–10 weeks, with incomplete submissions causing approximately 95% of permit delays. Bathroom permits typically require 2–8 weeks depending on scope.
Weather delays are real: winter rain slows framing and exterior work; summer booking backlogs push start dates back weeks. Ask your contractor about seasonal constraints and whether they pause projects during winter months. Factor permit review cycles, revision requests, and material lead times into realistic timelines—then add 20–30%. This prevents the shock of discovering your remodel extends into spring when you expected completion by December.
Mistake #5: Making Poor Design Decisions That Compromise Function
Aesthetic choices drive remodeling excitement, but they often override practical reality. Homeowners chase trendy finishes without considering maintenance, install inadequate lighting that makes spaces unusable, or create storage that looks modern but fails to function. Poor kitchen layouts waste workflow efficiency; bathroom vanities placed without regard for plumbing create expensive retrofits. Design decisions made for Instagram appeal become regrets within months when you realize the space doesn't serve how you actually live.
Balancing Trendy Elements with Timeless Design
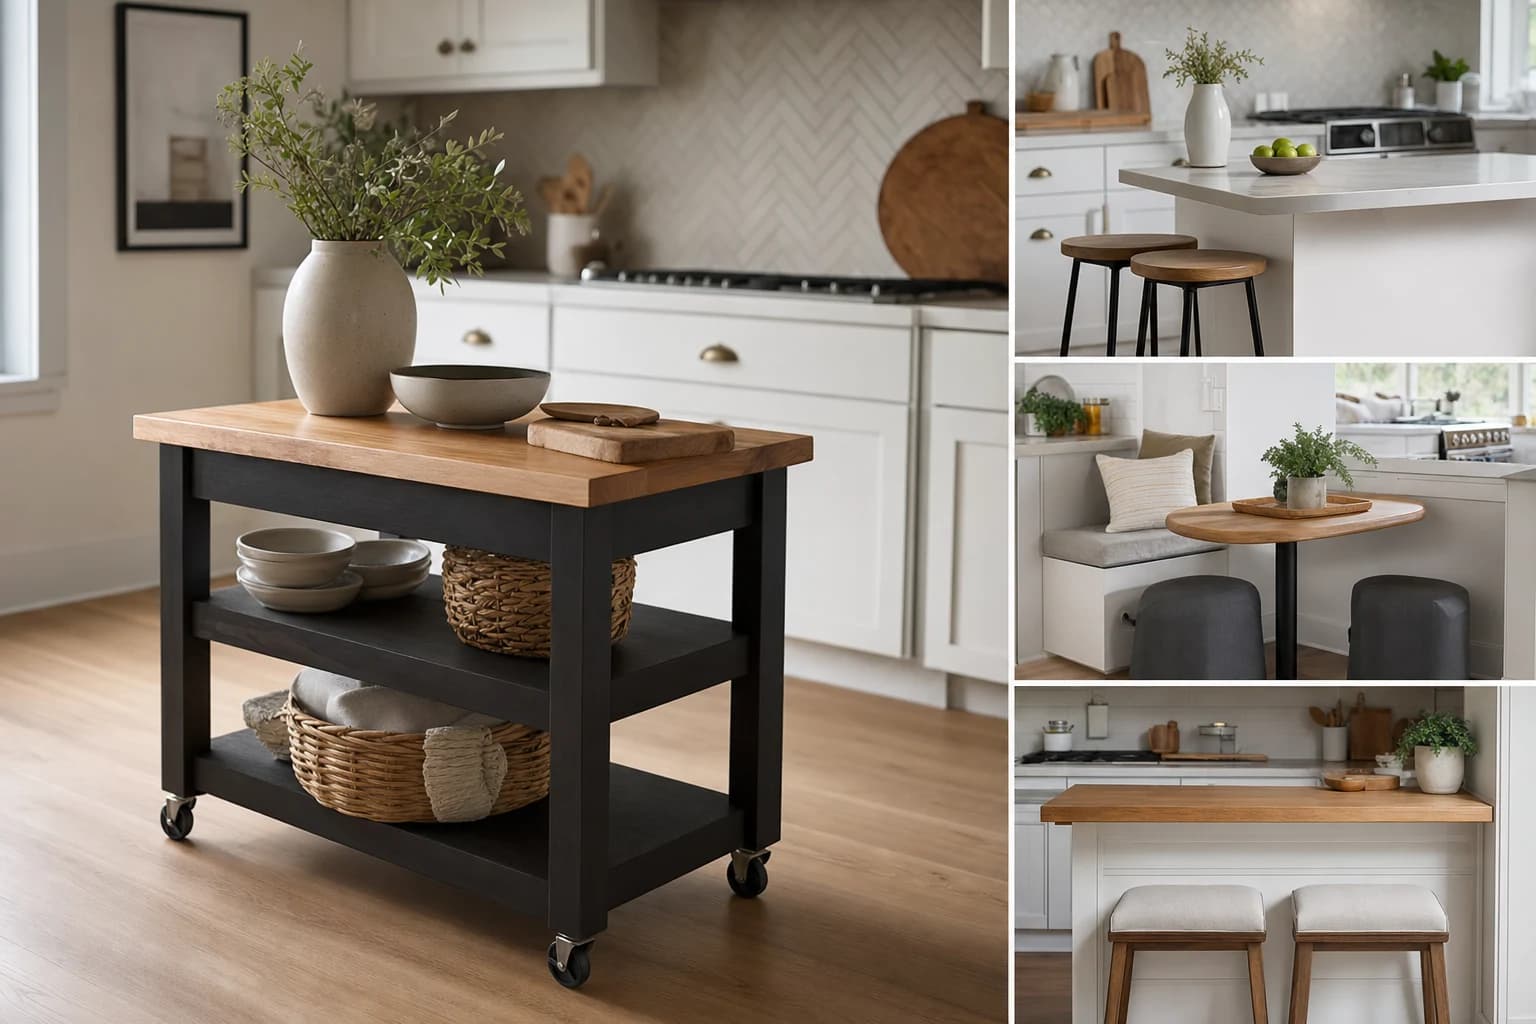
Channel trends through temporary, changeable elements—paint colors, hardware, décor—while keeping bones and major finishes classic and durable. Invest in timeless cabinetry, neutral tile, and quality countertops that won't look dated in five years. Incorporate current style through accessories and finishes you can easily update later. When choosing layouts, especially in kitchens where workflow matters, prioritize function first. Consider alternatives like kitchen island options for small spaces if your layout feels constrained. Lighting deserves the same attention as finishes—adequate task lighting, ambient lighting, and layered options transform how a room functions daily, not just how it photographs.
Mistake #6: Taking On Too Many DIY Tasks Beyond Your Skill Level
The false economy of DIY remodeling is seductive: save contractor fees by tackling work yourself. Yet mistakes in electrical, plumbing, or structural work cost exponentially more to fix than hiring a licensed professional from the start. Overconfidence bias—confidence in your abilities without the training to back it—leads many Seattle homeowners to learn on the job with irreversible consequences. Unpermitted DIY electrical or plumbing creates liability gaps, voids insurance coverage, and can derail future home sales when inspectors discover undocumented work. Beyond financial risk, code violations create safety hazards that impact your family daily.
Which Tasks Are Safe for DIY vs. Requiring Licensed Professionals
Safe for DIY:
- Painting and prep work
- Simple demolition (non-load-bearing walls)
- Installing trim and hardware
Requires Licensed Professionals:
- Electrical rewiring and outlet work
- Plumbing (rough-in and connections)
- Structural modifications
- HVAC work
- Gas line installation
Any work requiring permits—nearly all mechanical, electrical, and plumbing (MEP)—demands licensed trades. When avoiding remodeling mistakes in Seattle, knowing your limits separates smart owners from regretful ones.
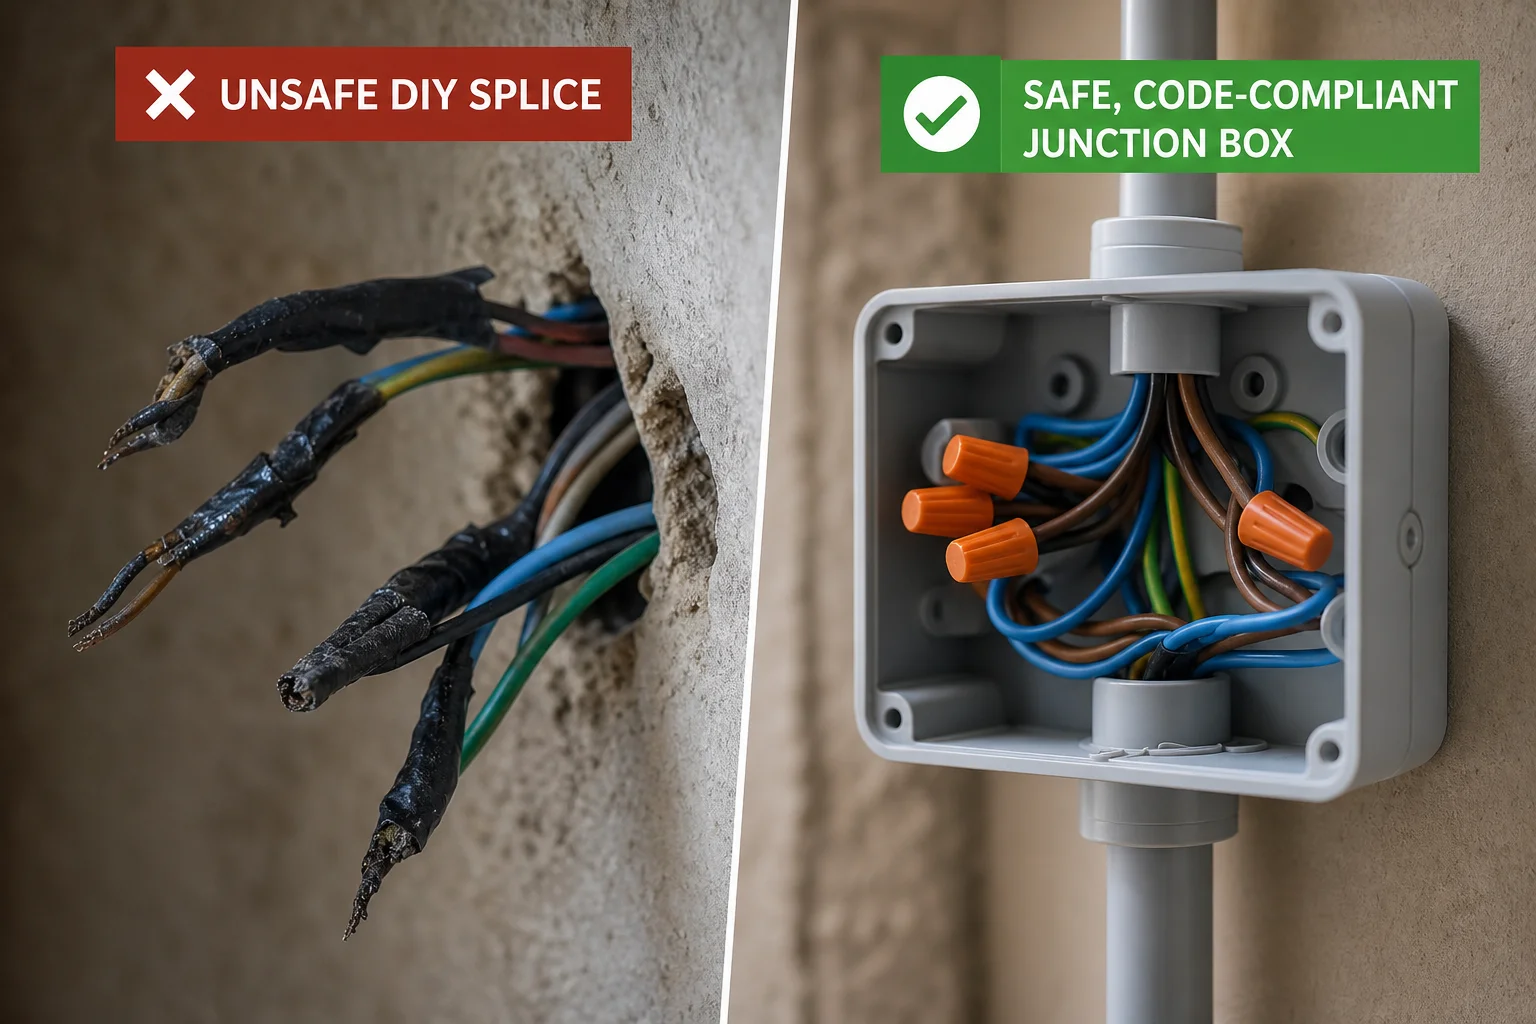
Electrical and plumbing work should always be left to licensed professionals to ensure safety and code compliance.
Essential Questions to Ask Your Seattle Remodeling Contractor
Before signing any contract, ask these critical questions—adapted whether you're working on kitchen, bathroom, or whole-home projects.
Licensing & Insurance:
- Are you licensed in Washington State, and can you provide verification? (Red flag: vague answers or reluctance to share documentation)
- Do you carry liability insurance and workers' compensation insurance? Request certificates directly.
Timeline & Completion:
- What's your typical project duration, and what factors might extend it? (This matters for kitchen and bathroom work—living disruption is real)
- How do you handle delays? Are there penalties or guarantees?
Budget & Payment:
- Will you provide a detailed, itemized estimate breaking down labor, materials, and permits?
- What's your payment schedule? (Avoid contractors demanding 50% upfront)
- How do you handle change orders? (This is crucial for avoiding surprise costs)
Design Process & Communication:
- How will you handle design decisions? Do you use renderings or samples?
- What's your communication protocol? Daily texts, weekly check-ins, or monthly meetings?
- When interviewing a kitchen remodeler in Seattle or bathroom contractor, ask: Do you have a dedicated project manager for my job?
Red Flags:
Contractors who can't answer clearly, pressure you to decide immediately, or have no verifiable local references are warning signs. Thorough vetting at this stage prevents the costly mistakes that derail remodels later.
Your Seattle Remodeling Success Checklist
Before signing any contract, verify these essentials to avoid remodeling mistakes in Seattle:
- Define your vision: Sketch goals, budget range, and must-haves
- Get detailed cost estimates: Include contingencies (15–20%) for hidden issues
- Interview multiple contractors: Check references, licenses, and insurance
- Confirm timeline realistically: Factor in permit approval and weather delays
- Prioritize function over trends: Ensure design serves your daily life
- Know your skill limits: Hire professionals for structural, electrical, and plumbing work
- Review contract terms: Clarify payment schedules and change order procedures
Careful planning and contractor selection prevent costly errors that derail remodels. If you're ready to plan your Seattle remodel with a trusted partner, reach out for a consultation—we're here to guide you through every step.